

How to Brew the Perfect French Press Coffee
- Kimberly Cull
- Jun 4, 2025
- 5 min read
The French Press brew method is a simple, yet rewarding, brew method that develops a full-bodied, robust cup of coffee. Its a timeless classic that is perfect for making multiple cups of coffee at once. Whether you intend to share those cups of coffee or enjoy them all by yourself (no judgement here), the French Press is one brew method that will not disappoint.

Here at DIVE, we believe that brewing great coffee at home should be easy, which is why we have developed this step-by-step guide to making the perfect French press coffee at home.
Why the French Press?
The French press is beloved for its ability to deliver a full-bodied, rich cup of coffee. Unlike paper filters, the metal mesh allows flavorful oils and fine particles of coffee to pass through, giving you a brew with more depth and character. It’s easy to use, easy to clean, and perfect for highlighting a bean's nuanced flavor profile.
Step-By-Step French Press Brew Guide
Step 1: Gather Your Essentials
French press
Freshly roasted coffee
Grinder (burr grinder preferred for consistency)
Kettle (for heating water)
Scale (optional, but helpful for precision)
Timer (your phone works great)
Spoon (for stirring and breaking the crust)
Filtered water
Pro-Tip: Freshness is key. Use whole beans and grind them right before brewing to preserve maximum flavor.
Pro-Tip: Invest in a digital scale for precise measurements. It makes a noticeable difference in your final brew when you are deliberate about your coffee to water ratio. The ratio itself does not have to be perfect, but having a measured ratio close to your target will ensure a good cup of coffee every brew.
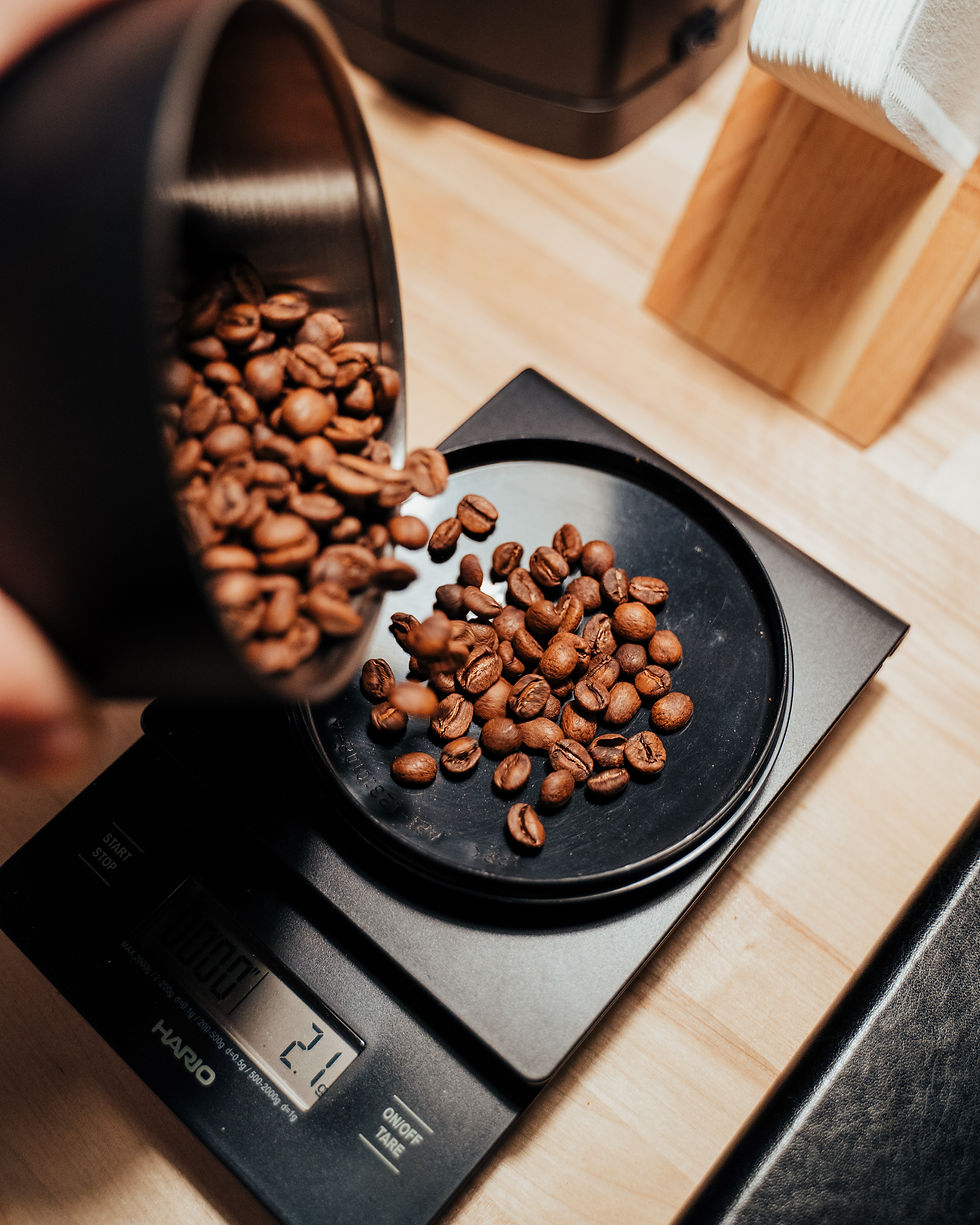
Step 2: Measure Your Coffee & Water
The coffee-to-water ratio of any brew method is crucial. A common recommendation for French Press is to prepare a 1:15 ratio, meaning use 1 gram of coffee for every 15 grams of water. But you should feel free to adjust the ratio based on your taste preferences.
Take out your scale and tare it (set it to zero) before adding your coffee beans. Depending on your specific scale, you may need a small cup to hold your coffee beans in place. If that is the case, make sure to place the empty container on your scale before taring, that way only the beans you add to the scale are weighed.
At this point, you can optionally weigh or measure out your water and add it to your kettle; however, I recommend weighing your water as you add it to your French Press, which I will explain in more detail in Step 5.
Step 3: Heat the Water
If you did not measure out your water in Step 2, you will still want to ensure that there is enough water in your kettle to cover the amount you will need to meet your target ratio. Add quality water to your kettle. You should only ever use water that your would drink.
As you begin to heat the water, you will want to aim for the ideal temperature of 200°F (96°C), but no less than 195°F (90°C) and no more than 205°F (96°C). Water should be heated just below its boiling point. Water that's too hot can scald the coffee, resulting in a bitter taste, and water that is not hot enough will not extract properly. Many kettles on the market have digital temperature gauges which makes heating your water both easy and precise.
Pro-Tip: Pour a little hot water into your French Press to prime it. A little preheating helps maintain the right temperature during brewing.
Step 4: Grind the Coffee
If you are using pre-ground coffee beans, you can move to Step 5. For those using whole bean coffee, you will now want to grind the coffee beans you measured out in Step 2. For the French press (and any other steeping brew method, Hello there cold brew!), beans should be ground to a coarse consistency, similar to sea salt. A coarse grind prevents over-extraction and gives your brew a balanced flavor.
Pro-Tip: If your coffee tastes too bitter, try a coarser grind. If it's too weak, go a bit finer. Don't be afraid to experiment. The ratios and grind size are a recommended starting point. You should absolutely experiment to find your perfect cup.
Step 5: Combine Coffee & Water
If you have waited until this step to measure your water, you will need your scale, again. Set the body (without the lid) of your French Press on top of your scale and pour your freshly ground coffee into it. Tare the scale so it reads a weight of zero. Slowly pour hot water from your kettle over the grounds paying close attention to the weight displaying on your scale to not inadvertently add too much or too little water. As you pour, make sure all the coffee is immersed.
Pro-Tip: Once you've finished pouring in your water, give the water a gentle stir with a wooden or plastic spoon to ensure all grounds are saturated.


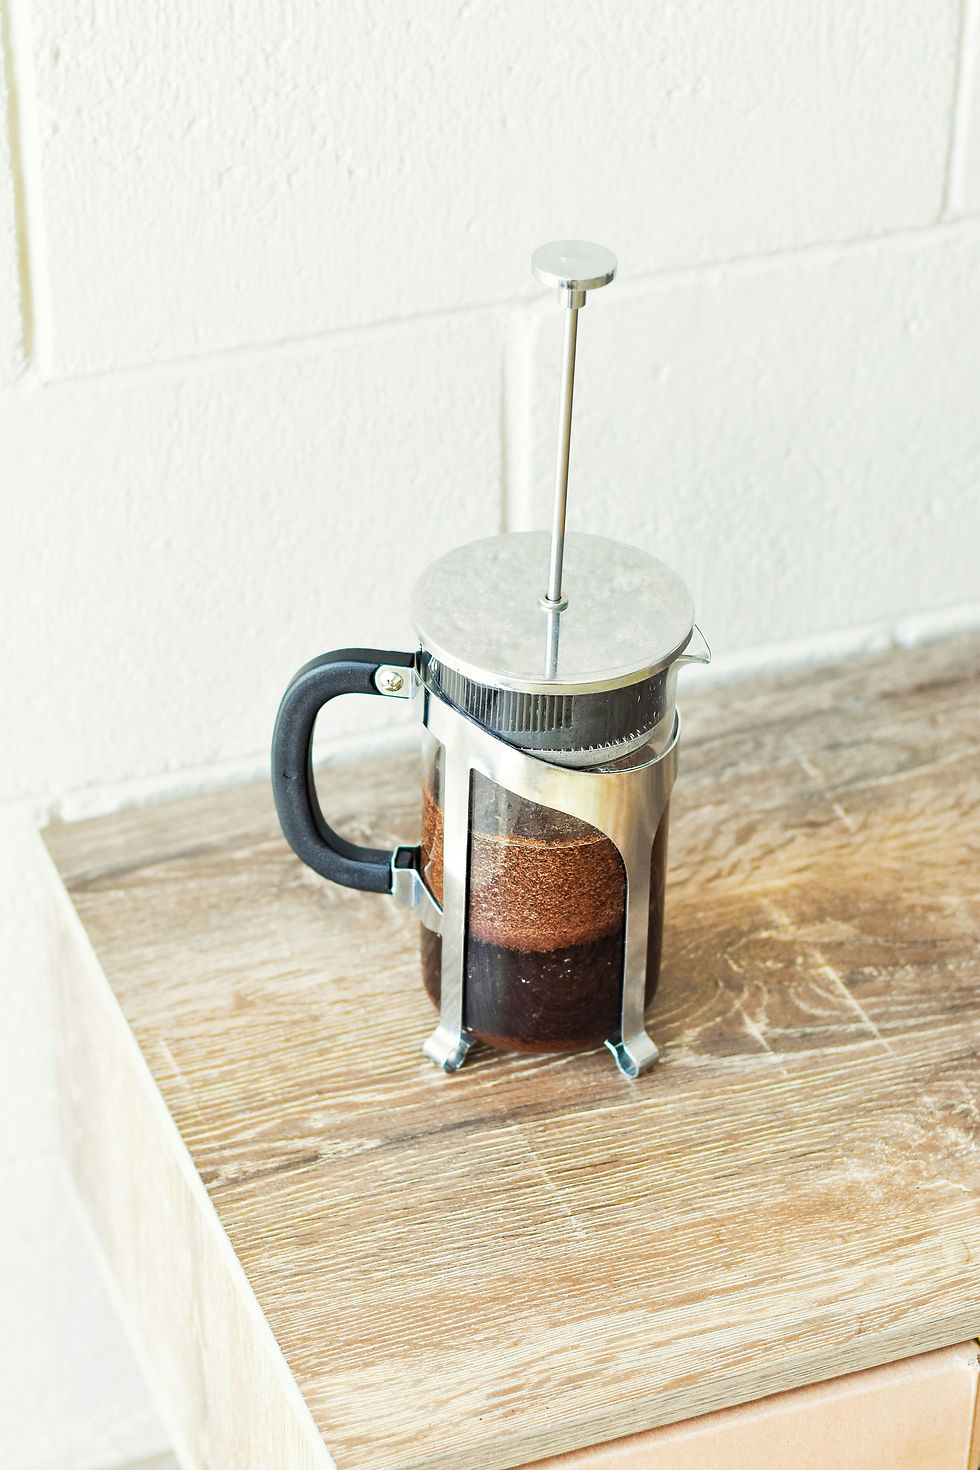
Step 6: Steep
With the plunger pulled all the way up, place the lid back on the French Press. Now, set your timer and let the coffee grounds steep for about 4 minutes.
Pro-Tip: Experiment with steeping times to find your perfect brew profile. The above 4 minute steep time is a recommended starting place. Anywhere between 3-5 minutes is appropriate. Steeping time is, yet, another example of a preference that you can develop over time with your home brewing. Longer steeping results in a stronger brew, but steeping too long will lead to bitterness. On the flip side, not steeping long enough will lead to a weaker, less bodied cup of coffee.


Step 7: Take The Plunge (Pun Intended)
After the steeping time has elapsed, slowly and evenly press the plunger down on your French Press. This step separates the grounds from the brewed coffee, so you don't end up with a gritty cup. With the plunger remaining in the down position, immediately pour your freshly brewed coffee into your favorite mug. Transfer any remaining coffee to a thermal carafe to keep it warm and prevent over-extracting (becoming bitter).
Step 8: Enjoy Your Expertly Crafted French Press Coffee!
This is easily the best part! All of your hard work has led to a satisfying cup of coffee to fuel your day.
Step 9: Clean Your French Press
The French Press is easy to clean. Once you've enjoyed your coffee (or maybe even before), you should empty the wet coffee grinds from your French Press into the trash or a container. NEVER pour them down the sink.
Washing your French Press soon after use will prevent oils from building up and enhance the longevity of your equipment. Use a bottle brush or French Press brush for a thorough clean. Avoid using soap if your French Press is dishwasher safe, as it can leave behind a residue affecting the taste.
Pro Tip: Coffee grinds are compostable and can fuel your gardens. Acid loving plants, like roses, hydrangeas, blueberries, potatoes, and carrots to name a few, love coffee grinds! This is a great way to enjoy coffee AND live sustainably.
Final Thoughts
The French Press is one of my favorite brew methods to use when making multiple cups of coffee. I enjoy the unique richness and body it brings to specialty coffee. The French Press offers enough customization to meet my personal taste preferences, without being overly complicated. Even better, its easy to clean. As a working mom of three, these features make the French Press a real winner when it comes to my coffee routine!

Comments